Key takeaways
- Fist grip at 3 is normal; forcing a pencil early makes it worse
- Build finger strength first with pegs, tearing and rava trays
- Use short, thick crayons so the fingers have to pinch
- Ten minutes a day for six weeks beats an hour on Sunday
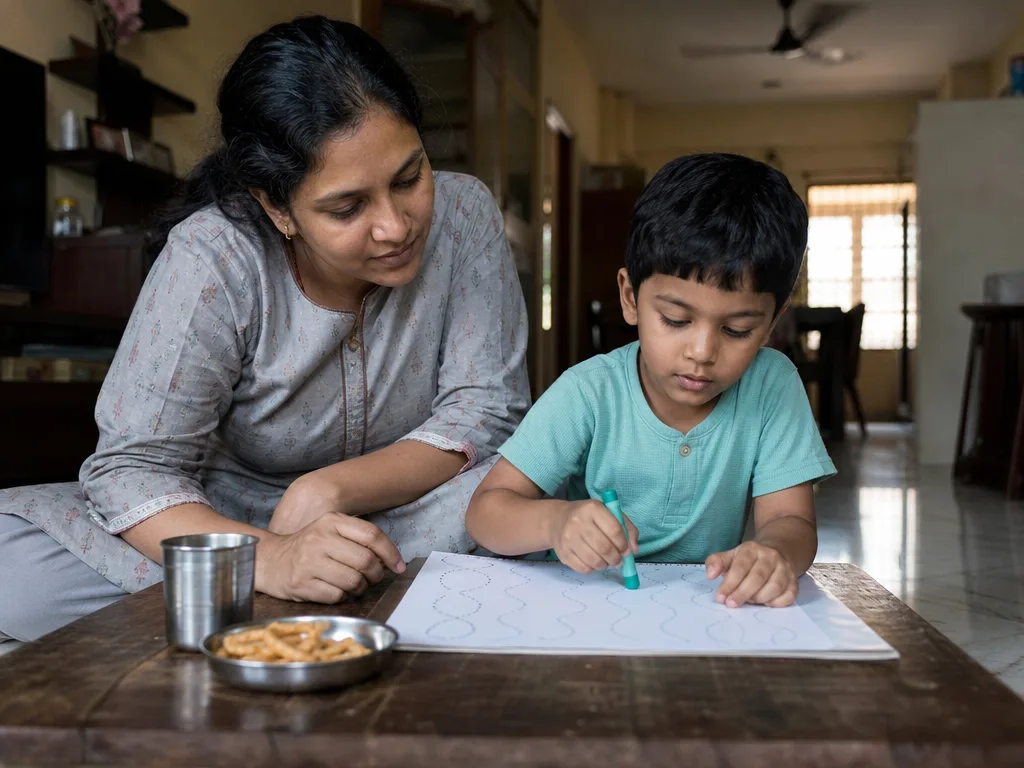
Your LKG teacher writes "needs to improve handwriting" in the diary. You sit your 4-year-old down with a pencil and a notebook, and within three minutes there are tears — theirs, and nearly yours. The lines wobble, the pencil is held in a fist, and the eraser has done more work than the tip.
Here's the part nobody tells you at admission time: weak handwriting at 3–5 is almost never a writing problem. It's a hand-strength problem. Fix the hand, and the letters follow. This article gives you eight things to do at the kitchen table, none of them involving a worksheet for the first two weeks.
Is my child's pencil grip actually a problem?
Grip develops in stages, and most "problems" are just a child at an earlier stage than the school expects.
- Fist grip (whole hand wrapped round the crayon) — normal at 1–2, still common at 3.
- Four-finger grip (crayon held between fingertips and thumb, wrist in the air) — typical at 3–4.
- Tripod grip (thumb, index, middle finger, wrist resting on the table) — usually settles between 4 and 6.
If your 3-year-old uses a fist, nothing is wrong. If your 5-year-old still does, and presses so hard the paper tears or so lightly you can't see the line, that's the signal to work on strength — gently, and not with a pencil.
One check you can do today: ask your child to pick up a single rajma bean from a plate. If they scoop with the whole hand instead of pinching with two fingers, start with the strength activities below before any tracing.
What to avoid (this is where most of us go wrong)
- Don't hand over a thin HB pencil first. A thin pencil in a weak hand forces a fist grip. Start with broken crayons or chunky triangle pencils.
- Don't do 30 minutes on a Sunday. Small hand muscles tire in minutes. Six days of ten minutes beats one long session every time.
- Don't correct the grip mid-stroke. Constantly moving their fingers builds frustration and teaches them writing means being told off. Fix the tool, not the fingers.
- Don't skip straight to letters. Lines, curves and zigzags are the alphabet's building blocks. Letters come last.
8 kitchen-table activities that build the hand
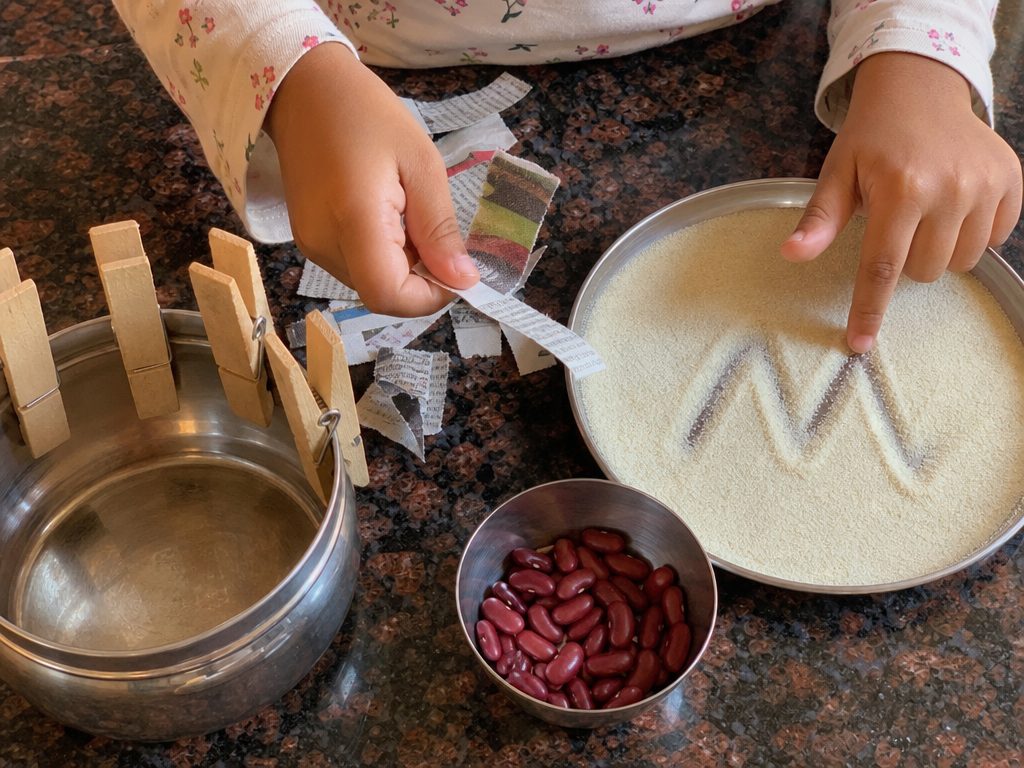
Everything here uses what's already in an Indian kitchen. Rotate two or three per day.
- 1. Clothes pegs on a dabba. Clip 10 pegs along the rim of a steel dabba, then take them off. The pinch is exactly the tripod muscle. Race the clock.
- 2. Rava tray. Spread a thin layer of rava or atta on a steel thali. Child draws lines, circles and zigzags with a finger, then shakes to erase. Move to a chopstick or a dry pen after a week.
- 3. Newspaper tearing. Tear old newspaper into long strips, then into small pieces. Then paste the pieces to fill a shape. Tearing builds the same muscles as writing, and children find it satisfying.
- 4. Bean sorting. A mix of rajma, chana and moong in one bowl, three katoris to sort them into. Only fingertips allowed. Start with a small handful.
- 5. Roti dough play. Give them a small ball of atta while you make rotis. Roll it, pinch it, flatten it, poke holes. Ten minutes of squeezing is a full hand workout.
- 6. Dropper and water. A medicine dropper, two katoris, one with coloured water. Move water from one to the other.
- 7. Sticker peeling. Small stickers off a sheet, placed inside a circle.
- 8. Short crayons. Break crayons into 3 cm pieces. A short crayon cannot be held in a fist — the fingers must pinch. This one change fixes more grips than any correction.
Moving from strength to lines (weeks 3–6)
Once the pinch is there, introduce paper — but not letters.
- Start with thick crayons on big paper. Big shoulder movements first, then wrist, then fingers.
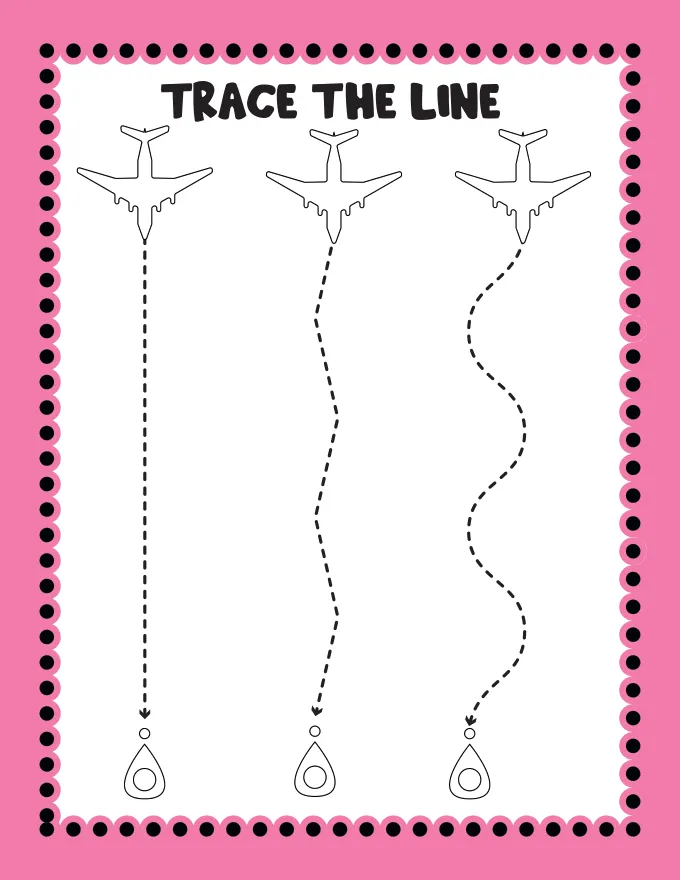
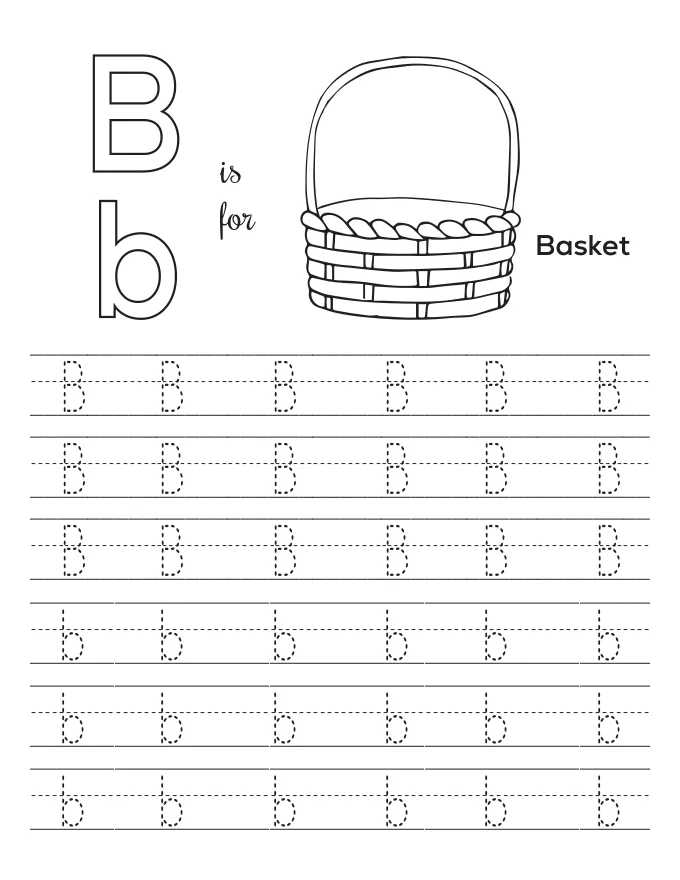
- Use line tracing sheets: straight, wavy, zigzag, then loops. One sheet a day, done standing at a table is fine.
- Move to a triangular pencil only when the tripod grip appears on its own.
- Position matters: feet flat on the floor or a stool, table at elbow height, paper tilted slightly. A child dangling off a dining chair will grip badly no matter what.
- If they're left-handed, let them be. Tilt the paper the other way and sit them on the left end of the table so elbows don't clash with a sibling.
What about the school homework in the meantime?
Talk to the teacher. Most LKG/UKG teachers will accept a page of tracing instead of letters for a few weeks if you explain you're working on grip. Do the school's page after ten minutes of a strength activity — the hand is warmed up and the result is visibly better. Praise effort ("you held it with three fingers!"), not results.
A realistic target
- Week 1–2: two strength activities a day, no pencil. Ten minutes total.
- Week 3–4: one strength activity plus one tracing sheet with a short crayon.
- Week 5–6: tripod grip appears on its own most days. Introduce a triangular pencil for school work.
- By week 8: noticeably darker, steadier lines. Not perfect letters — steadier lines. That's the win.
Some children take twelve weeks instead of six, especially if they started with a fist grip at 4½. That's still normal. If by age 6 the grip is still fisted or your child avoids all drawing, a paediatric occupational therapist can help in a couple of sessions.
Where to get the tracing sheets
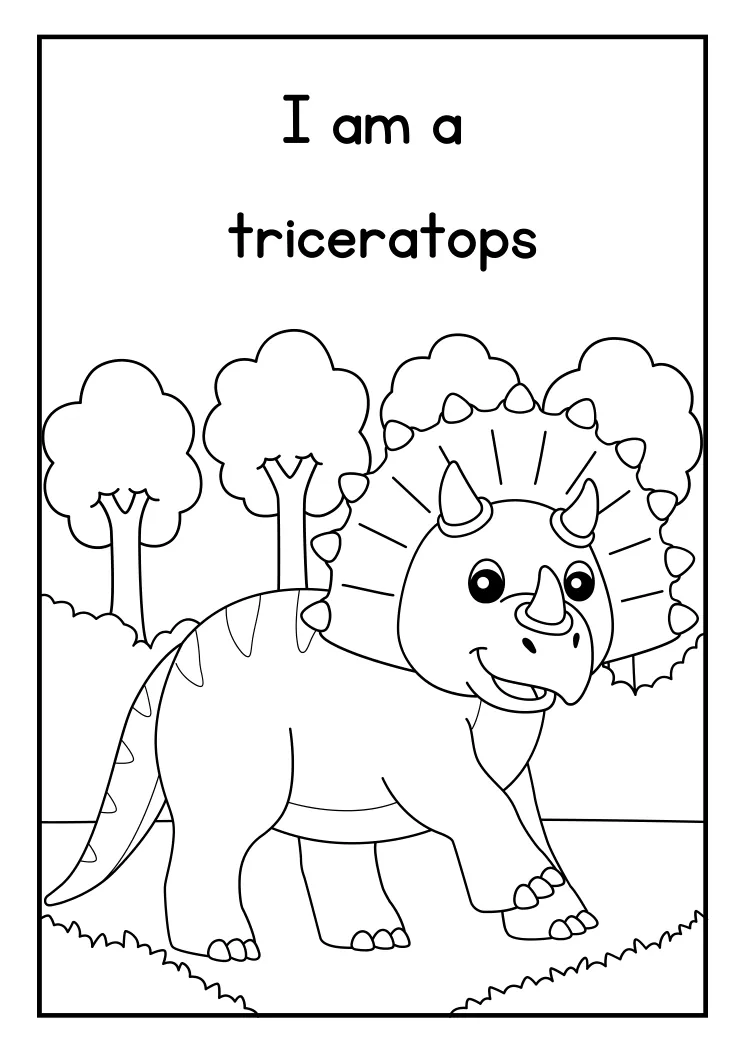
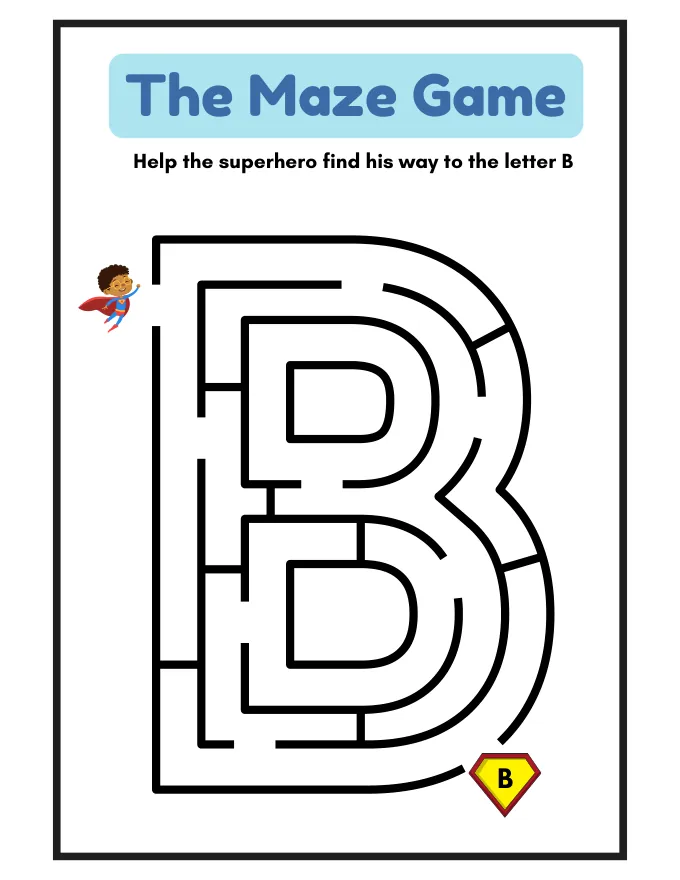
You don't need to buy a book. Line, shape and letter tracing pages, sorted by age from 2 to 8, are in the PrintNPlay Kids printable library — print a few, keep them in the "after 5 pm" drawer, and reprint when they're done. Reward charts for the six-week plan are there too.
Start with the pegs and the rava tray tonight. The pencil can wait two weeks.
Printables mentioned in this article
Want printable activities instead of screens?
19,000+ printable pages for ages 2–8 — tracing, colouring, maths, mazes, flashcards — sorted by age. Print at home, reuse forever.
WhatsApp us your child's age Get 10 free pages